

I've rarely printed color from my printer in the past four years and that finally came back to bite me. You need to print occasionally to keep the ink in the print heads from drying up. My cyan stopped printing and no amount of running printer maintenance cleaning routines would unclog it. Time for some mechanical action.
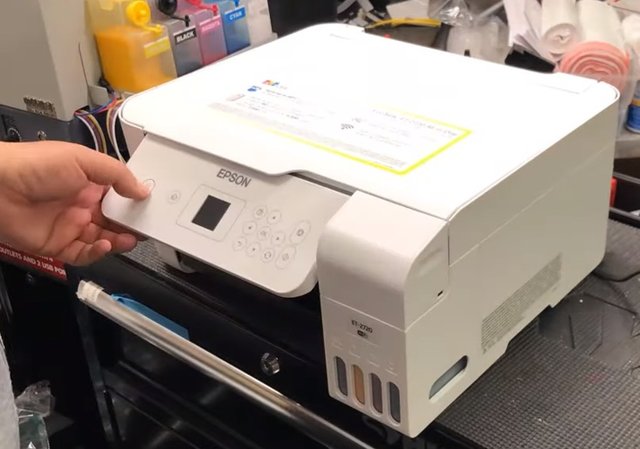
First of all, I discovered that the control panel actually tilted up, I never knew this! That would have made it a lot easier when copying things over the years.
![Image]()
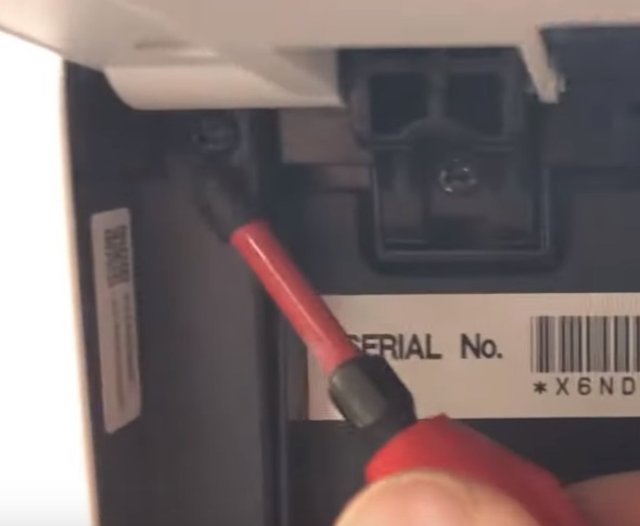
There are then two screws to remove. One on the left and one on the right.
![Image]()
After this. the top folds back. Here, you have a choice. You can either yank the scanner and control panel data ribbons and remove it completely, or just prop it up with something. I removed it completely, a decision that was going to come back and haunt me later.
![Image]()
Now, you can reach the sub-reservoir ink cartridges that feed the print head. You need to move this to the middle because if you flush it over the maintenance box to the right you will just fill it up and then have to replace it for $15, plus purchase an aftermarket reset code for $10 because Epson won't give you one as they want you to send the printer back to them so that they can make more money off of you.
![Image]()
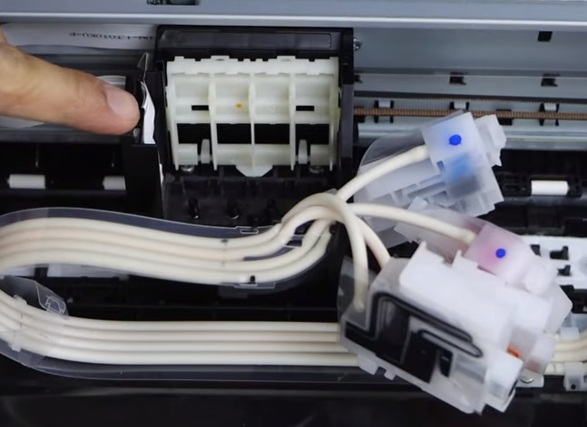
Flick the little tab at the front of the sub-reservoir and it can can be removed. Since cyan was the last one, I only had to remove it.
![Image]()
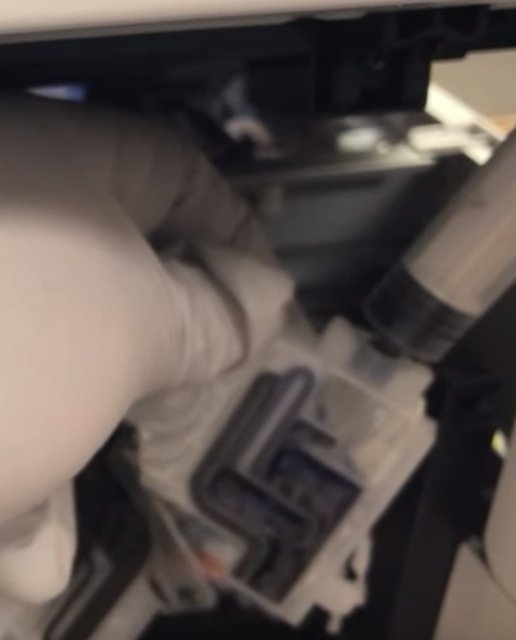
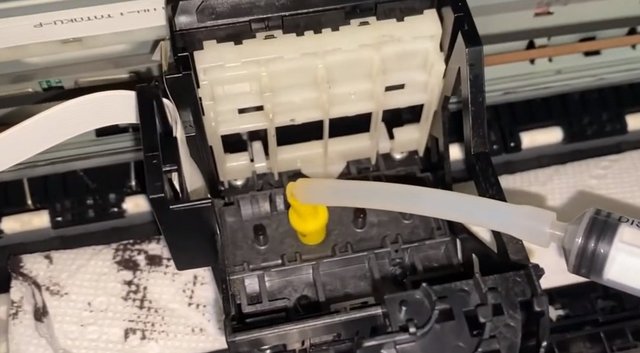
First, clear the sub-reservoir's ink port by pulling a bit of ink out with a syringe. If the ink doesn't flow freely then it's a clog in the tube or outlet of the main ink reservoir and you will have to remove the tube and use an adapter to suck on it until it's unclogged.
![Image]()
Now, you have a choice. You can either pop all the sub-reservoirs and then remove the print head, or you can just put a folded paper towel under it to soak up the ink you are going to flush out.
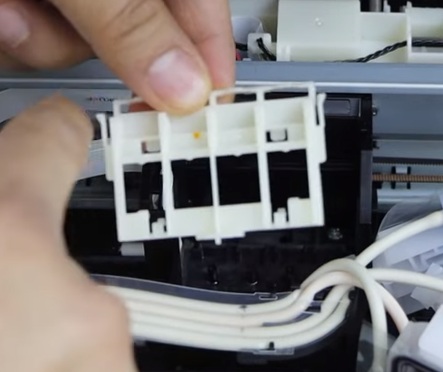
If you decide to remove the print head, start by removing this plastic piece. It has tabs on both sides that need pressed in and then it slides up and out.
![Image]()
![Image]()
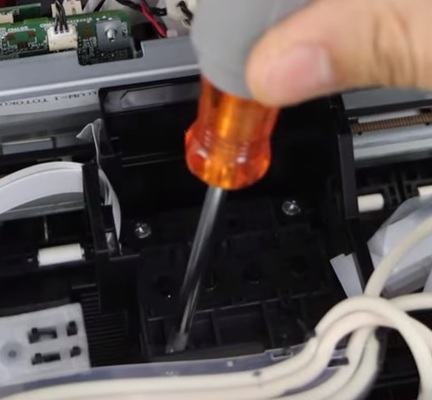
Now, remove the three screws.
![Image]()
The print head can now be lifted out.
![Image]()
You may be able to unclog the print head from here by using a paper towel soaked in warm water and laying it against the head for a minute or two to dissolve the ink. Or, you may need to turn it over and flush it out using either warm water or 70% isopropyl alcohol from a syringe. If you wish, you can remove the ribbon cable and take the print head off completely or just put a wad of paper towels under it to soak up the flushing solution.
If you don't want to remove the print head, you can just flush it in place by putting a folded paper towel under it. This is actually what I did. You will need to replace the towel several times and then when finished move the print head back and forth on a clean towel to wipe it off before re-assembling the printer. To tell the truth, it would have taken less time had I just gone ahead and removed the print head.
![Image]()
Now, comes the "mistake" I made. I took the scanner completely off so I had to re-attach the ribbons. First, I tried to do this with the plastic side cover still on and succeeded in creasing the ribbons, which I thought might have damaged them as when I got everything back together the scanner wouldn't work. Upon another disassembly, however, I found that I'd pulled one ribbon loose while putting things back together. I then watched another video on how to remove the side cover to give me more access.
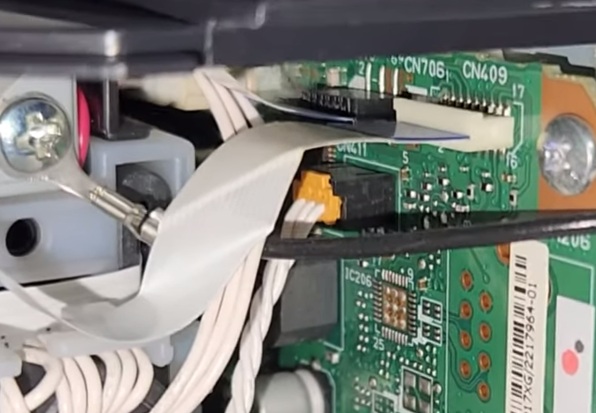
If you damage this ribbon assembly it's $25.
![Image]()
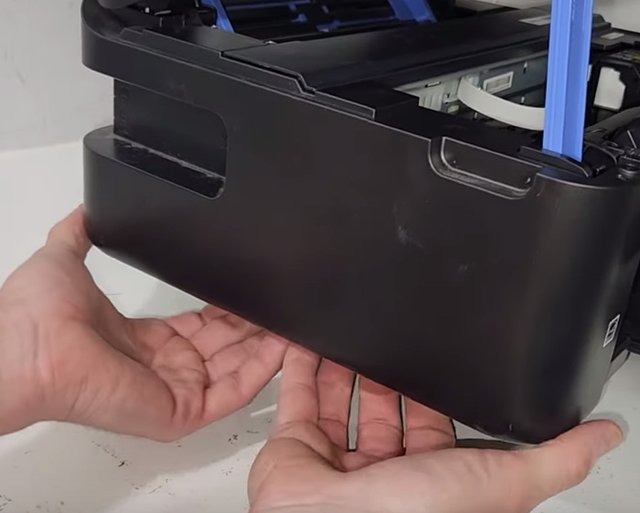
You remove the side panel by pressing up on the bottom to clear a couple of tabs, one right and one left. Some models may also have a screw to the upper right that needs to be removed but mine didn't
![Image]()
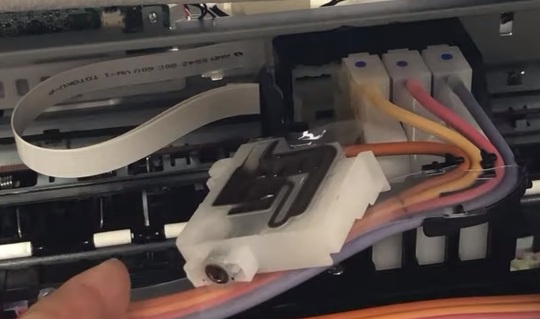
This gives you much better access to the ribbon cable ports than trying to replace them from the top.
![Image]()
When you have everything re-assembled, turn the printer on and let it go through its initial set-up cycle. Wait until the "On" button stops flashing and then do a test print. Epson Printer Test Page | Color Test Page
Image sources and credits:
First of all, I discovered that the control panel actually tilted up, I never knew this! That would have made it a lot easier when copying things over the years.
There are then two screws to remove. One on the left and one on the right.
After this. the top folds back. Here, you have a choice. You can either yank the scanner and control panel data ribbons and remove it completely, or just prop it up with something. I removed it completely, a decision that was going to come back and haunt me later.
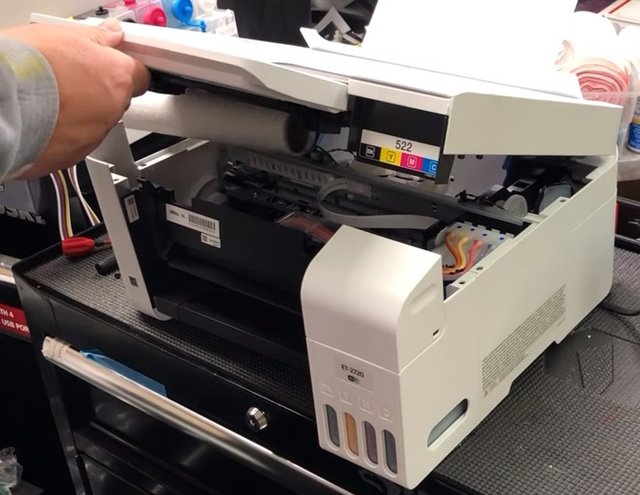
Now, you can reach the sub-reservoir ink cartridges that feed the print head. You need to move this to the middle because if you flush it over the maintenance box to the right you will just fill it up and then have to replace it for $15, plus purchase an aftermarket reset code for $10 because Epson won't give you one as they want you to send the printer back to them so that they can make more money off of you.

Flick the little tab at the front of the sub-reservoir and it can can be removed. Since cyan was the last one, I only had to remove it.
First, clear the sub-reservoir's ink port by pulling a bit of ink out with a syringe. If the ink doesn't flow freely then it's a clog in the tube or outlet of the main ink reservoir and you will have to remove the tube and use an adapter to suck on it until it's unclogged.
Now, you have a choice. You can either pop all the sub-reservoirs and then remove the print head, or you can just put a folded paper towel under it to soak up the ink you are going to flush out.
If you decide to remove the print head, start by removing this plastic piece. It has tabs on both sides that need pressed in and then it slides up and out.
Now, remove the three screws.
The print head can now be lifted out.
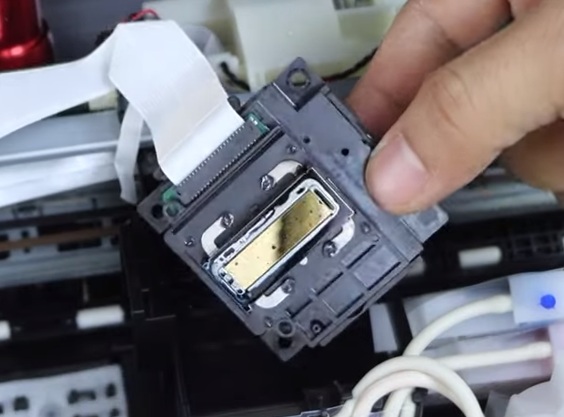
You may be able to unclog the print head from here by using a paper towel soaked in warm water and laying it against the head for a minute or two to dissolve the ink. Or, you may need to turn it over and flush it out using either warm water or 70% isopropyl alcohol from a syringe. If you wish, you can remove the ribbon cable and take the print head off completely or just put a wad of paper towels under it to soak up the flushing solution.
If you don't want to remove the print head, you can just flush it in place by putting a folded paper towel under it. This is actually what I did. You will need to replace the towel several times and then when finished move the print head back and forth on a clean towel to wipe it off before re-assembling the printer. To tell the truth, it would have taken less time had I just gone ahead and removed the print head.
Now, comes the "mistake" I made. I took the scanner completely off so I had to re-attach the ribbons. First, I tried to do this with the plastic side cover still on and succeeded in creasing the ribbons, which I thought might have damaged them as when I got everything back together the scanner wouldn't work. Upon another disassembly, however, I found that I'd pulled one ribbon loose while putting things back together. I then watched another video on how to remove the side cover to give me more access.
If you damage this ribbon assembly it's $25.

You remove the side panel by pressing up on the bottom to clear a couple of tabs, one right and one left. Some models may also have a screw to the upper right that needs to be removed but mine didn't
This gives you much better access to the ribbon cable ports than trying to replace them from the top.
When you have everything re-assembled, turn the printer on and let it go through its initial set-up cycle. Wait until the "On" button stops flashing and then do a test print. Epson Printer Test Page | Color Test Page
Image sources and credits:


